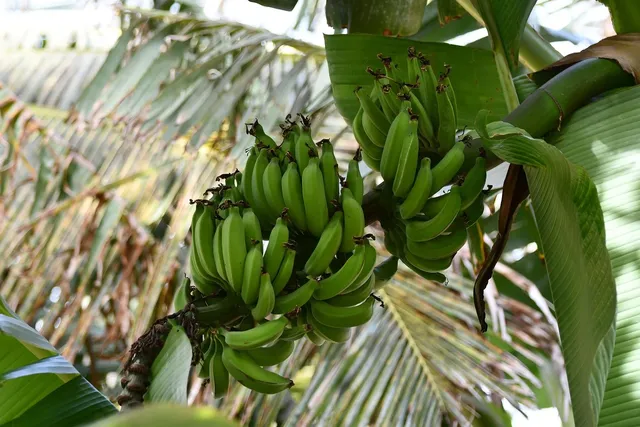
 Banana Bread is one of those things that mankind can’t live without. It’s perfect for brekkie, with coffee - everyone subconsciously reaches for a slice. With all its glory, a banana bread recipe has always been a high priority to add to Ballerina Bites, but always drove me in circles to find the perfect recipe. With that being said, I’ve finally settled on this version that’s not too distant from the original - just without dairy or eggs. Enjoy! Love Alex xx PS: Be sure to tag me @ on Instagram so I can see your wonderful recreations!  Ingredients
6 medium sized bananas (600g without the skin) A large handful of pitted dates, chopped into small pieces A large handful of walnuts, broken into small pieces ⅓ cup (70g) coconut oil or butter, melted 1 tsp vanilla extract ⅓ cup (70g) coconut or raw sugar 2 tsp baking powder 2 tsp bicarb-soda ¼ tsp salt 2 cups (260g) plain, wholemeal or gluten free flour 1 tbsp apple cider vinegar Method Preheat the oven to 160°c and line a large loaf tin with baking paper, or butter then dust with flour. Mash the bananas in a large bowl using a fork. Add the dates, walnuts, coconut oil/ butter, vanilla extract, sugar, baking powder, bicarb soda, and salt - stir until well combined. Now add the flour and apple cider vinegar and mix, be careful not to over stir. Bake for 1 hour, or until a skewer comes out clean. Allow to cool completely, before slicing. Store in the fridge for 1 week - Feel free to freeze the banana bread in slices to ensure freshness is maintained. Enjoy as is, or toasted lathered with butter or nut butter. Makes 1 large loaf
0 Comments
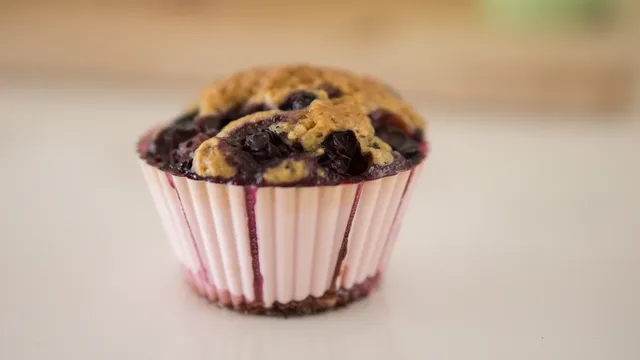 Is meal prep big on your agenda and you’re wanting to include more savoury snacks, or a handheld lunch option? These Savoury Muffins are the answer - with umami flavours and cheesy undertones, they’re set to satisfy that need for something salty. My Savoury Muffins are also a wonderful way to hide and pack in the veggies, even for the most picky of eaters. Enjoy! Love Alex. xx PS: Be sure to tag me so I can see your wonderful reactions! 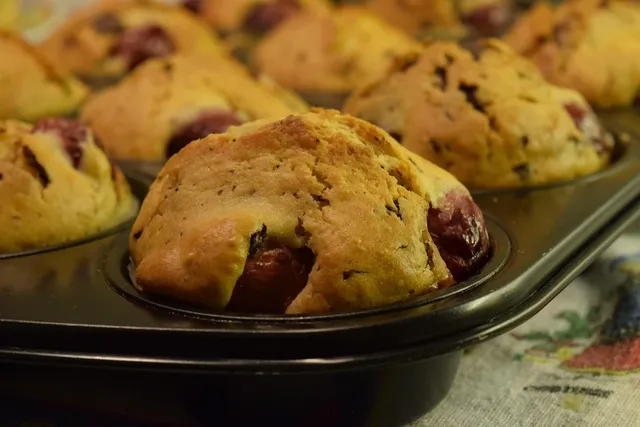 Ingredients
1 onion 1oog fresh shiitake or brown mushrooms, 2 medium zucchinis 2 carrots 2 garlic cloves, peeled 2 tbsp tamari or soy sauce 2 tbsp maple syrup 2 tsp smoked paprika ⅓ cup oil free sun dried tomatoes, roughly diced Salt and pepper to taste Dry 2 cups buckwheat, plain or gluten free flour ½ cup nutritional yeast or cheese 2 tsp baking powder 1 tsp baking soda Wet 2 cups milk ¼ cup olive oil ½ tbsp apple cider vinegar A small bunch of parsley, roughly chopped Method Preheat your oven to 180°C. Using a box grater or with a grater attachment, grate the onion, mushrooms, zucchinis, carrots & garlic. Transfer the veggies into a large pot (set to medium- high heat), along with the tamari/ soy sauce, maple syrup, smoked paprika, sun dried tomatoes and salt & pepper to taste. Sauté, stirring throughout, until all veggie juices have evaporated. Take off the heat and add the ‘dry’ and ‘wet’ ingredients - straight into the pot. Stir until well combined, then spoon the batter into a 12x muffin tin, lined with muffin cases. Bake for 30 - 40mins, or until a skewer comes out clean. Store in an airtight container in the fridge for up to 1 week, or freeze to enjoy fresh at a later date. Yields 12 muffins 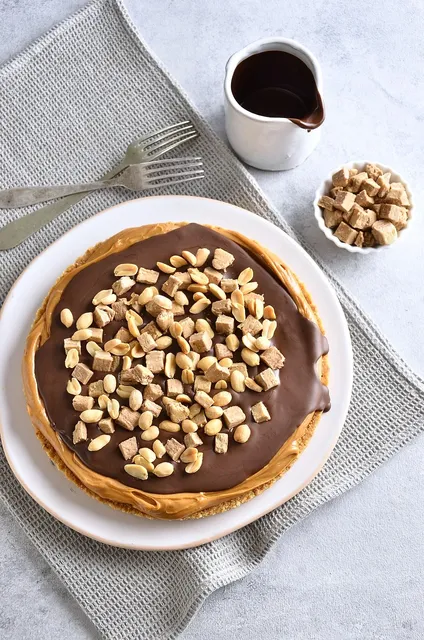 Now this is a granola for the peanut butter fans! With a maple peanut butter caramel coating rolled oats, this granola is perfect with milk, yoghurt or your favourite ice-cream. Yes it is possibly more a morning tea or dessert option (rather than breakfast), but nonetheless it will sustain & satisfy a hungry sweet tooth. Enjoy! Love Alex, Ballerina Bites. Xx PS: Be sure to tag me @ballerina_bite on Instagram so I can see your wonderful recreations!  Ingredients ⅓ cup roasted salted peanut butter ⅓ cup maple syrup 2 tbsp coconut oil, melted 1 tbsp vanilla extract 2 ½ cups rolled oats ¼ cup roasted salted peanuts ¼ cup cacao nibs 50g 70% dark chocolate, roughly chopped Method Preheat the oven to 160°c and line a large tray with baking paper. Combine the peanut butter, maple syrup, melted coconut oil and vanilla extract in a large bowl. Stir in the rolled oats, making sure each oat is nicely coated in the peanut butter caramel. Spread the granola over the tray to make one layer. Bake for 25 - 30mins, giving a toss at every 5 - 10 minute intervals. Meanwhile in a small bowl combine the roasted salted peanuts, cacao nibs and roughly chopped chocolate. Once the granola is golden, crisp and still warm, sprinkle over the chocolate and peanut mix - this will allow the chocolate to melt and create clusters! Allow to cool completely before transferring to an airtight jar - store at room temperature. Enjoy as is, or with milk/ yoghurt/ ice-cream! Yields 1x 750ml Jar   Peanut Butter. Can anyone else agree that PB should be a food group?!
As a lot of know, I’m obsessed with this thick, nutty, slightly claggy paste and have featured PB here on the blog numerous times before. Some of my favourite PB recipes include my Peanut Butter & Banana Celebration Cake, Peanut Butter Balls (recipe by my bro ), Dan Dan Noodles, Mexican Cauliflower, Corn & Peanut Butter Soup, plus more! Here I have my super simple recipe that I think is better than any other store bought brand, but you first have to take a few things into consideration to ensure success! 1. The variety of peanuts - peanuts can vary in flavour depending on where they’re grown. You’re looking for a peanut that tastes sweet and is also hi-oleic (meaning they’re high in unsalted fats, which promotes healthy heart health). If you can, finding peanuts that are single origin will make a huge difference too... if we’re getting fancy. 2. Roasted vs raw peanuts - A good rule of thumb, when making any nut butter is using roasted nuts. This tends to save blending time, as the nuts have released their oils during the roasting process, creating a smoother butter. I buy my nuts pre roasted and means they’re skinless also. 3. Unsalted vs salted peanuts - I tend to go for a combo of both and use a 1:1 ratio. Salted peanuts enhance the flavour of the nut and rockets your pb from average to epic! If you use entirely salted peanuts your nut butter can become a little too salty. 4. Ultra smooth pb - the first thing I look for when finding a good pb is its texture - it has to be smooth! To achieve this at home you need to blend, blend, blend! Like 10 minutes blend! Your peanuts will go for a sand - thick paste - ball - then smooth. Enjoy! Love Alex, Ballerina Bites. Xx PS: Be sure to tag me , so I can see your wonderful recreations! Ingredients 2 cups unsalted roasted peanuts 2 cups salted roasted peanuts Method Add your peanuts to a food processor (I use a Magimix) and as I mentioned before, blend, blend, blend! After 5 - 10mins, you should have an ultra smooth peanut butter. Pour your pb into a clean jar, or container and allow to cool before closing the lid. Store in a cool dry place for up to 6 months. Yield just under a 500ml jar  Wow, what a recipe if I do say so myself!! I haven't created a flavourful one pot stew in a long time and I think this is the perfect recipe to introduce this style of cooking back into my repertoire. My Rose Harissa, Date & Lentil Stew is ideal for meal prep and goes down a treat at family gatherings too. The highlight and possibly unusual ingredient in this dish, is the addition of Rose Harissa Paste - a fragrant paste from North Africa, with red hot chillies, herbs, spices, garlic and rose petals. If you can’t find rose harissa (the brand I use is by Belazu), standard harissa is more than fine also. Some other ingredients worth mentioning in this recipe, are the medjool dates, which melt into the strew and add a sweet caramel flavour, as well as tahini, to cut the heat from the harissa paste and provide an irresistible richness! Enjoy! Love Alex, Ballerina Bites. Xx PS: Be sure to tag me so I can see your wonderful recreations. 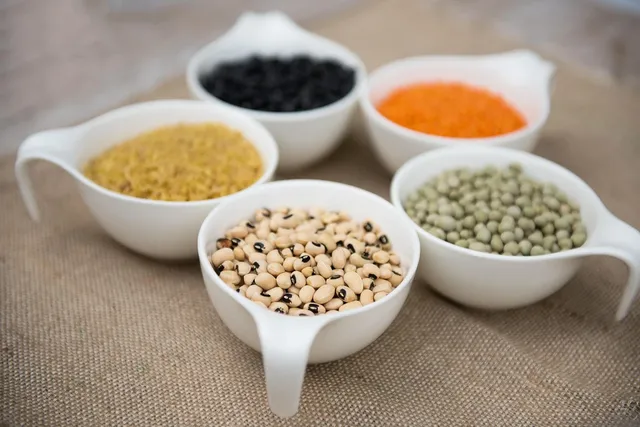 Ingredients
1 red onion, diced 500g brown button mushrooms, diced 3 garlic cloves, crushed 2 large carrots, diced 3 heaping tbsp rose harissa paste or standard harissa paste 1 tsp ground cumin 1 tsp smoked paprika 4 medjool dates, pitted and chopped into small pieces 2 cups whole green lentils 2x 400ml cans of plum tomatoes 800ml water Salt & Pepper to taste ½ cup tahini A large bag of chopped kale Lemon wedges to serve Method In a large saucepan, add a glug of water or oil and set heat to medium. Add the diced onion, mushrooms and season with S&P. Begin to saute until the onion becomes translucent and the mushroom juices have evaporated. Stir in the garlic, carrots, harissa paste, ground cumin, smoked paprika, medjool dates and allow to fry until it smells fragrant. Now stir in the green lentils, canned tomatoes, water, S&P to taste and bring to a boil. Once boiling, reduce the heat to a simmer and cover with a lid ajar. Allow to simmer for 1 hour- stirring throughout. Serve the stew with a grain of choice and a wedge of lemon. Potato or pasta is also a delicious option too! Serves 6  Beluga lentils create the heartiness of this salad with peppery rocket, roasted red onion and sweet honey like mulberries adding a wonderful harmony of flavours. A one bowl dressing of yoghurt, honey, tahini, cumin and optional lemon juice - brings the salad to life and creates an irresistible meal. Enjoy! Love Alex, Ballerina Bites. Xx PS: Be sure to tag me so I can see your wonderful recreations!  Ingredients 1 large red onion Oil of choice 250g cooked beluga lentils 2 large handfuls of rocket A handful of coriander, roughly chopped (optional) ⅓ cup dried mulberries Dressing ⅓ cup yoghurt of choice 1 tbsp tahini 1 tsp honey or brown rice syrup ¼ tsp cumin S&P to taste Lemon Juice (optional) Method Preheat your oven to 180°c and line a small tray with baking paper. Peel the red onion, chop into ⅛’s and roughly seperate the layers. Scatter the onion over the tray and lightly coat with oil of choice. Once golden and crisp, remove from the oven and set aside to cool. To make the dressing, add the the yoghurt, tahini, honey/ brown rice syrup, cumin and salt & pepper to taste in a small bowl. Gently stir together until it’s combined and smooth. Taste the dressing and adjust the tang to your liking with lemon juice. Assemble the salad between two bowls - rocket, lentils, coriander (if using), mulberries and red onion. Serve with the dressing on the side and douse to your liking. Store In an airtight container in the fridge for up to two days. Keep the dressing separate and dress when you’re to eat. Serves 2  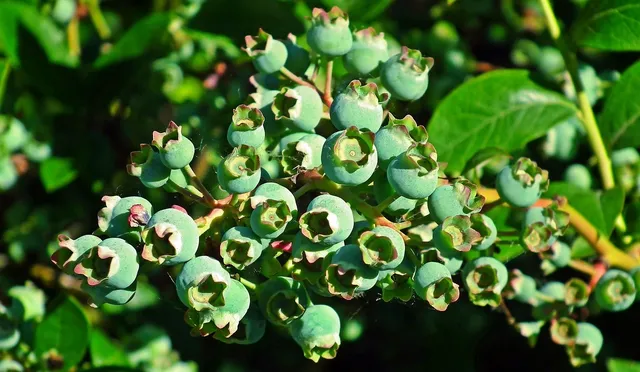 Who says vegan can’t have cheesecake?! Today Vegan’s are rather lucky with the amount of alternatives on supermarket shelves and dairy free cream cheese is definitely not hard to find. In saying that I find these alternatives highly processed and probably not much better for you than the original, hence why I have my own cheesecake recipe here. My Blueberry Cheesecake Bars are dairy free, gluten free and made using wholefood ingredients that are more likely to put a spring in your step rather than slow you down. With the protein rich nature of the oats, almond meal, cashews and tofu, you could even consider this as a breakfast option or pre/post work out snack. Enjoy! Love Alex, Ballerina Bites. Xx PS: Be sure to tag me so I can see your wonderful recreations!  Ingredients Blueberry Jam 150g blueberries, fresh or frozen Base ¾ cup rolled oats 1 cup almond meal ¼ cup unsweetened desiccated coconut ¼ tsp fine table salt ¼ cup maple syrup Filling 300g silken tofu 1 tbsp tapioca flour ½ tsp nutritional yeast Zest of 1 small lemon Juice of 1 small lemon ⅓ cup maple syrup ¼ cup coconut oil, melted ½ tsp vanilla extract or ¼ tsp vanilla paste 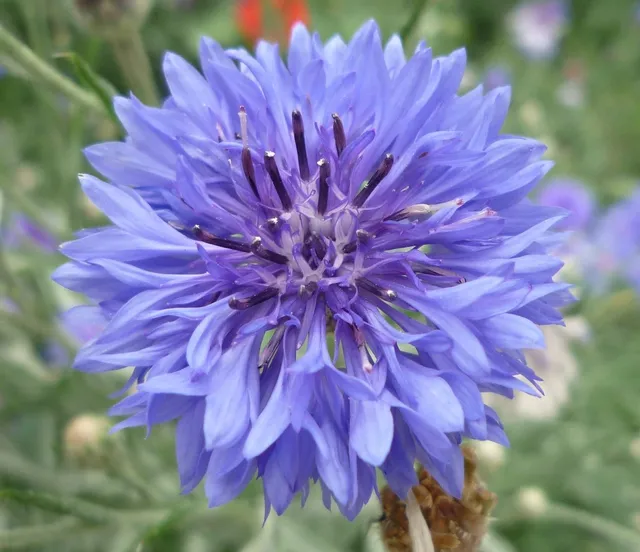 Method
Preheat the oven to 160°C fan. Line a 20cm square brownie tin with baking paper, leaving paper around the perimeter so the cheesecake can be easily removed once baked. Add the blueberries to your food processor and blend until smooth. Pour the blueberry smoothie into a small saucepan and set heat to low. Allow to bubble away while you prepare the base & filling steps. Once your jam is nicely thickened, (it will thicken even more once cooled) take off the heat and set aside until needed. To a food processor (wiped out from the previous step) add the rolled oats and blend until a flour. Add the remaining base ingredients and blend until a dough forms- you may need to scrape down the sides to ensure everything is nicely combined. Firmly press the dough into your lined brownie tin, using the back of a spoon - slightly wet the spoon to prevent sticking. Bake for 10- 15min, or until golden. Meanwhile, add all filling ingredients to your food processor (wiped out from the previous step) and blend until super smooth. Pour the cheesecake filling over the base and top and dollop with the blueberry jam. To make the swirl pattern, use a knife or preferably a chopstick, to lightly mix the jam and cheesecake filling together in spontaneous motions. Bake the cheesecake for 25-30 minutes, or until the edges are golden and begin to pull off the sides of the brownie tin. Once baked, allow to cool in the tin for 15min, before allowing to cool completely on a wire rack. Transfer the cheesecake to the fridge and refrigerate for a minimum of 5 hours or overnight. Once set, slice & enjoy! Yields 9 Bars 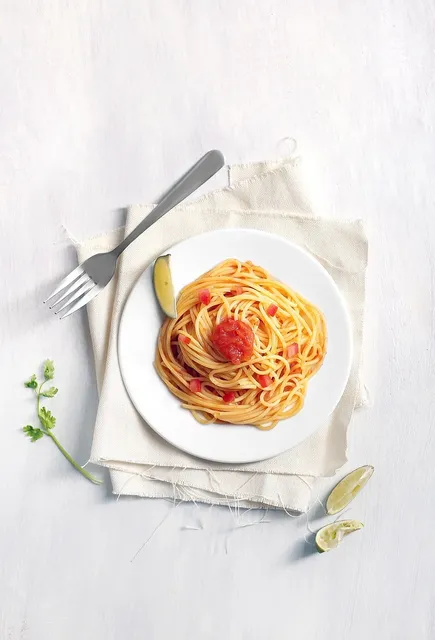 Anything pasta related I’m pretty much all over, and I can’t express how much I love it! My trip to Italy last year for my older brother’s wedding had me in my element, with no complaints of the excessive amount we were eating. When I go for a pasta dish, I love a simple arrabbiata (a chilli based tomato sauce), but as of late I’ve been experimenting with creamier based sauces- like last month's Smokey Pepper Pasta. Here I have a recipe that was inspired by Mum’s Mustard Chicken Pasta, which she used to make us growing up. Obviously there’s no chicken and I’ve replaced the heavy cream with coconut cream, but this recipe still compares, if not beats Mum’s. (Sorry Mum! <3) Enjoy! Love Alex, Ballerina Bites. Xx PS: Be sure to tag me so I can see your wonderful recreations! 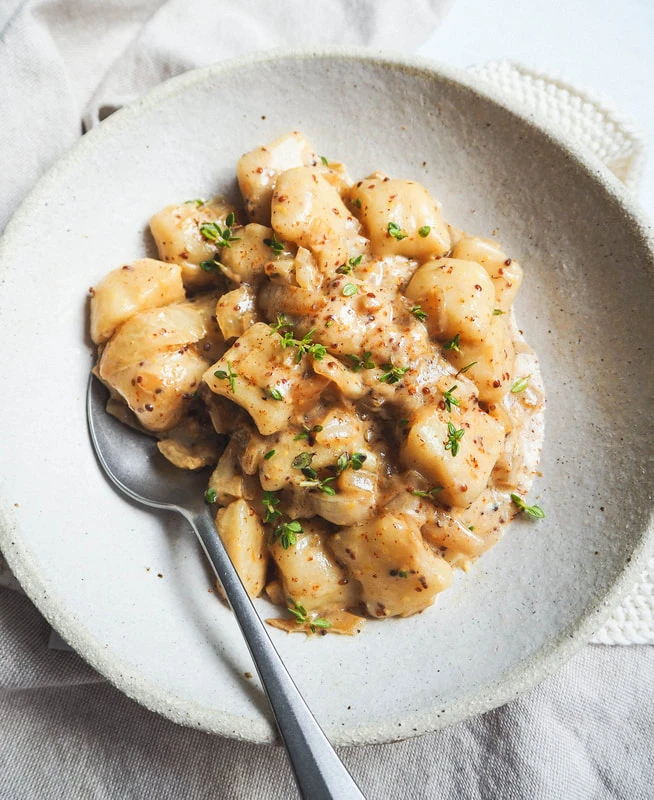 Ingredients 1 small onion, finely diced 4 garlic cloves, finely diced 2 tsp tamari or soy sauce 4 heaping tbsp coconut cream 2 heaping tsp seeded mustard ⅓ cup pasta water 2 tbsp nutritional yeast A generous pinch of cayenne pepper A generous pinch of nutmeg (preferably freshly grated) 2 tsp fresh or dried thyme, roughly chopped if needed Salt & pepper to taste 250g gnocchi 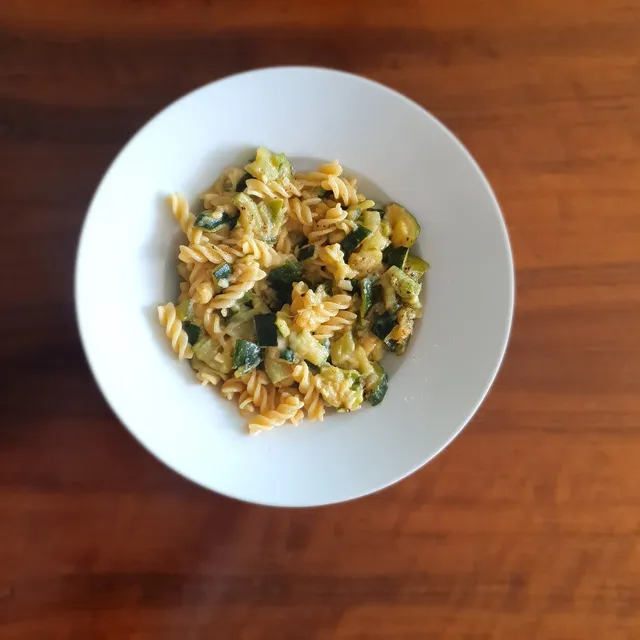 Method
Generously season a medium sized saucepan, filled halfway with water - bring to a boil. Meanwhile, add a dash of water or oil to a large frypan and set heat to medium. Add the onion, garlic, and sauté until the onion begins to go translucent - stirring throughout. Now stir in the tamari, coconut cream, seeded mustard, nutritional yeast, cayenne pepper, nutmeg and thyme - turn heat down to low. At this point add the gnocchi into the boiling water, and allow to cook until they begin to float - if using fresh gnocchi this is a matter of seconds. Once the gnocchi is floating, reserve ⅓ cup of the starchy cooking water, and drain the rest through a sieve. Add the gnocchi and the reserved pasta cooking water into the frypan, and allow to sauté until the sauce begins to coat the gnocchi and becomes thick. Season to taste and serve the creamy gnocchi between two bowls. Lastly garnishing with extra thyme, cayenne pepper, black pepper and a generous amount of freshly grated nutmeg. Serves 2  Peanut Butter & Jam is a match made in heaven, and when paired together, you simply can’t go wrong! Have you ever thought about adding matcha into the mix? ‘It’s a Matcha made in heaven!’ “Hmm, it could work, right?!” I thought also when creating this delicious breakfast idea - spiked with matcha to add a new depth of flavour and bonus energy boost. “Energy boost?” Matcha is a green tea powder, which contains caffeine. It's often considered a gentler form of coffee, as the energy released is long lasting, rather than coffee simultaneously giving you a boost. This recipe is an overnight oats creation, meaning it’s prepared the night before you wish to eat it. This is great if you’re often running to get out the door and when packed in a container or jar, it can easily be enjoyed on the bus or at your desk. Enjoy! Love Alex, Ballerina Bites. Xx PS: Be sure to tag me so I can see your wonderful recreations! 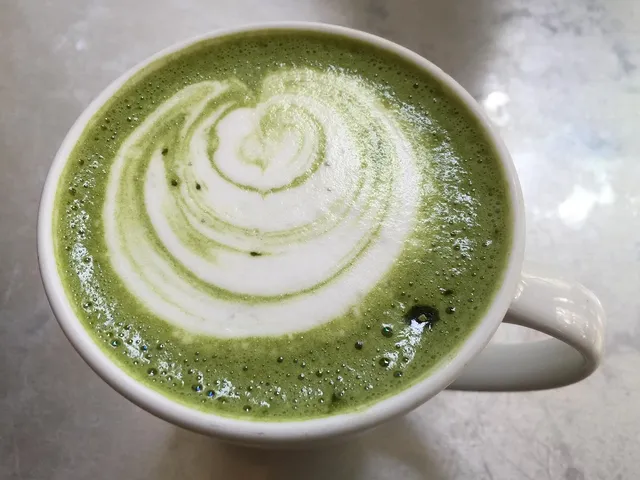 Ingredients ½ cup porridge oats 1 tsp chia seeds ½ tsp matcha powder (optional) ½ tsp ground cinnamon Pinch of salt 250ml milk of choice ¼ tsp vanilla extract 1- 2 tsp honey or liquid sweetener of choice 1 ripe banana, sliced into coins 1 tbsp natural peanut butter 1 tbsp jam of choice (I tend to go for one fruit sweetened rather than sweetened with sugar) 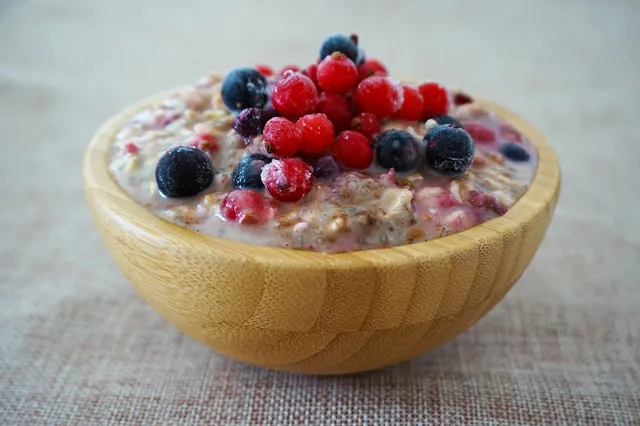 Method
The night before you wish to enjoy your overnight oats - combine the oats, chia seeds, matcha powder, cinnamon & salt in a bowl or jar. Stir until combined, before stirring in the milk, vanilla & honey. Refrigerate overnight. The following morning top your oats with banana coins and a dollop of peanut butter & jam. Feel free to add additional toppings like cacao nibs and fresh/ frozen berries. Serves 1  I wanted to bring you a pasta dish that was a little bit different, but everything a bowl of pasta should be - perfectly cooked al dente pasta, with a sensational rich sauce. My Smokey Pepper Pasta is just this, however I do shy away from traditional Italian pasta ingredients. In this recipe you’ll see tahini, tamari, maple syrup, nutritional yeast, lime juice and smoked paprika, that do sound a little bizarre, but trust me they all work together to create a truly delicious meal. Enjoy! Love Alex. PS: Be sure to tag me on Instagram so I can see your recreations! Ingredients
200g pasta of choice 4 tbsp hulled tahini 2 tbsp tamari or soy sauce 2 tbsp nutritional yeast 2 tsp sesame oil 1 tsp maple syrup 1 tsp smoked paprika ⅛ tsp chilli flakes (or more if you like heat) A generous squeeze of lime juice 1 cup pasta cooking liquid Salt & pepper to taste Toasted pine nuts to garnish (optional) Method Fill a medium size saucepan halfway with water. Season generously with salt and bring to a boil. Once boiling, add the pasta and cook according to the packet instructions - you may like to drain the pasta a few minutes early to ensure it's al dente, as we will be cooking further in the sauce. Just before draining the cooked pasta, reserve 1 cup of the starchy pasta water. Drain the al dente pasta and add back into the saucepan along with the remaining ingredients (except the pine nuts, if using). Pour in the pasta water and stir on medium heat until thickened, and the sauce begins to coat the pasta - this should only take a few minutes or so. Lastly season with salt and pepper to taste, and serve between two bowls. Garnish with more cracked black pepper, and sprinkle over toasted pine nuts if you wish. Serves 2
<<Previous
|
AuthorI'm passionate Ballerina that is dedicated to living a healthy lifestyle to ensure I perform at my best. 
|
